Location Recce
Technical Recce
To prepare filming there are a few
problems which could affect our filming during production. As we will be mostly
be using natural light from the windows if weather forecasts predict bad storms
it could make lighting more darker ruining the mood of the film. Another
problematic situation is if the camera malfunctions and we are incapable of
filming this could delay our timetable in which we use to plan out our shooting
schedule.
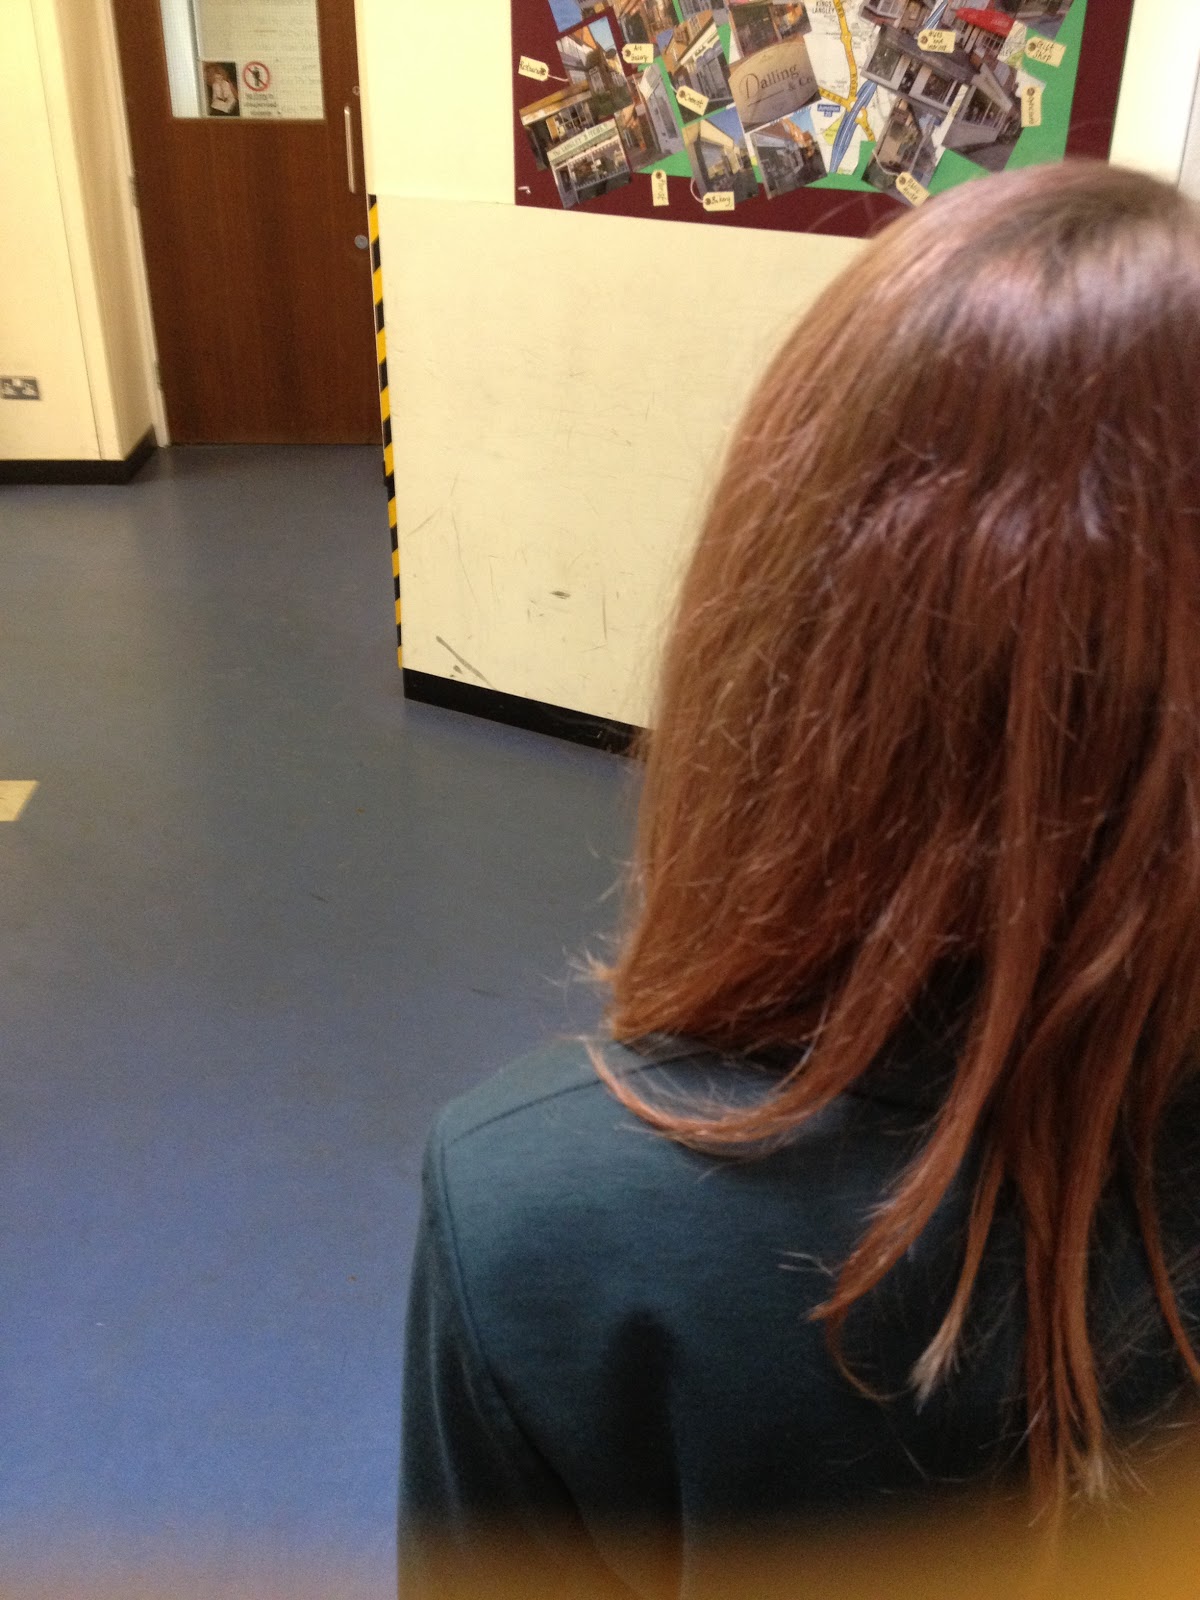
As we are filming in the English room
there is a chance that the room could be booked or locked restricting our
access to the English room, or problems of people not part of the cast could
come in causing chaos on set. Props are also at risk of breaking or not working
as we have a scene of phones sending texts if the phones don’t work at the time
it could ruin the text scene.
During the close up of the feet scene
people could walk down the corridor student could come out of class and come into shot going against
continuity. Also during the feet scene we use unnatural light meaning if the
lights short circuit it could be impossible to film with no light at all.
Risk Assessment
Shooting Schedule
Mise-en-Scene Description
Set Design/Location
The room is spacious and is a perfect school
setting of a class room. It has 4 windows on one side of the room, with navy
blue carpet; there are large lights on the roof creating a lit environment to
work in, we placed the table at the back of the room.
Props
One light brown table and two blue chairs
opposite sides of the table. We will use this layout for the props as it is a
realistic set out. Another key prop is a mobile phone of which will be kept in
characters pockets until it needs to be used.
Lighting
The main source of light will be the natural
light coming from the many windows in the English room, we will be also using
artificial lighting that is already provided to help make sure the audience can
see everything that’s happening in the scene.
Character Movement
At the start of the filming PAUL is sitting in
the class room on his own texting SALLY there is no speech in this scene,
SALLY then walks into the room and sits opposite to PAUL at the table. After
the two characters have spoken their dialogue, PAUL gets up and goes to comfort
SALLY, SALLY storms out and slams door behind her. We chose this character
movement as it is straight to the point and has enough going on to show
different shots.
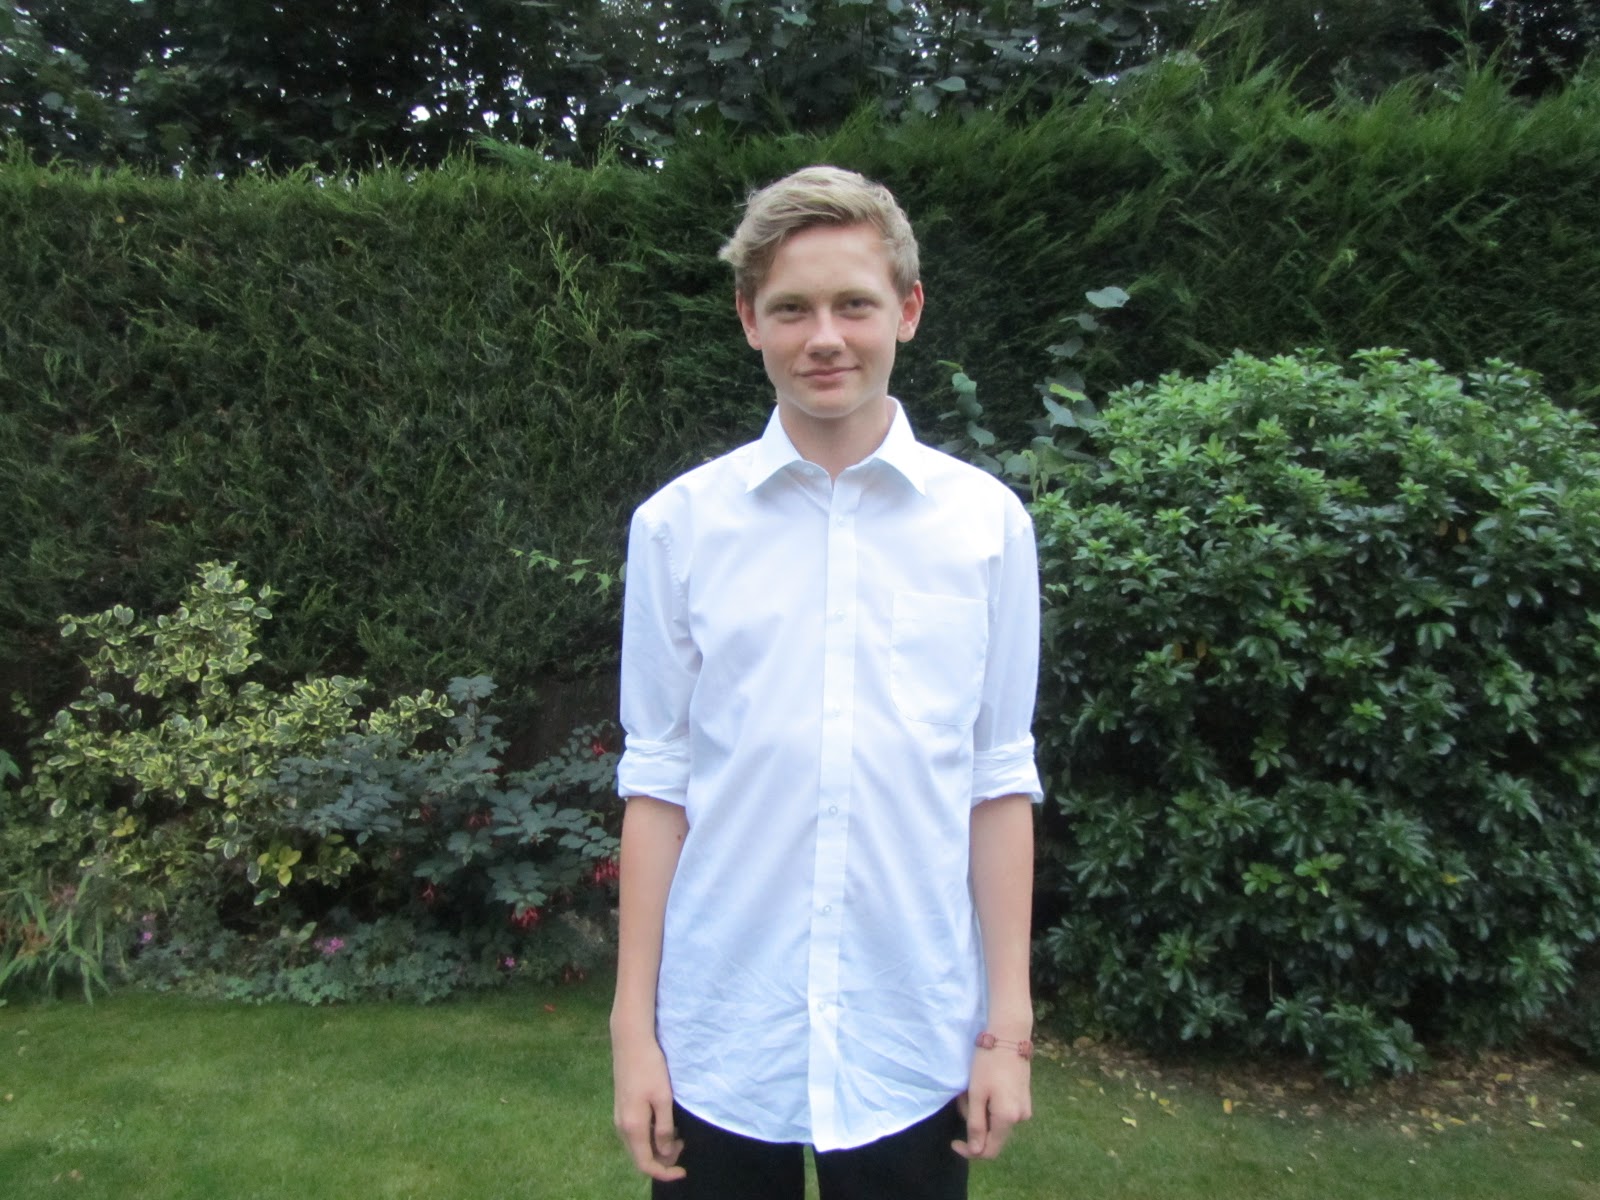
Costume
SALLY: Black body-con skirt, blue jumper and
denim shirt.
PAUL: Navy Body warmer, black trousers, smart
shoes and a t-shirt.
These costumes are everyday ware, and
realistic to our situation as the characters are meant to be natural.
Hair / Make-up
SALLY: Hair tied up in bun, simple face make
up.
PAUL: Hair, no-make up.
Cast, Crew, Equipment and Props list